Create a Data Connection
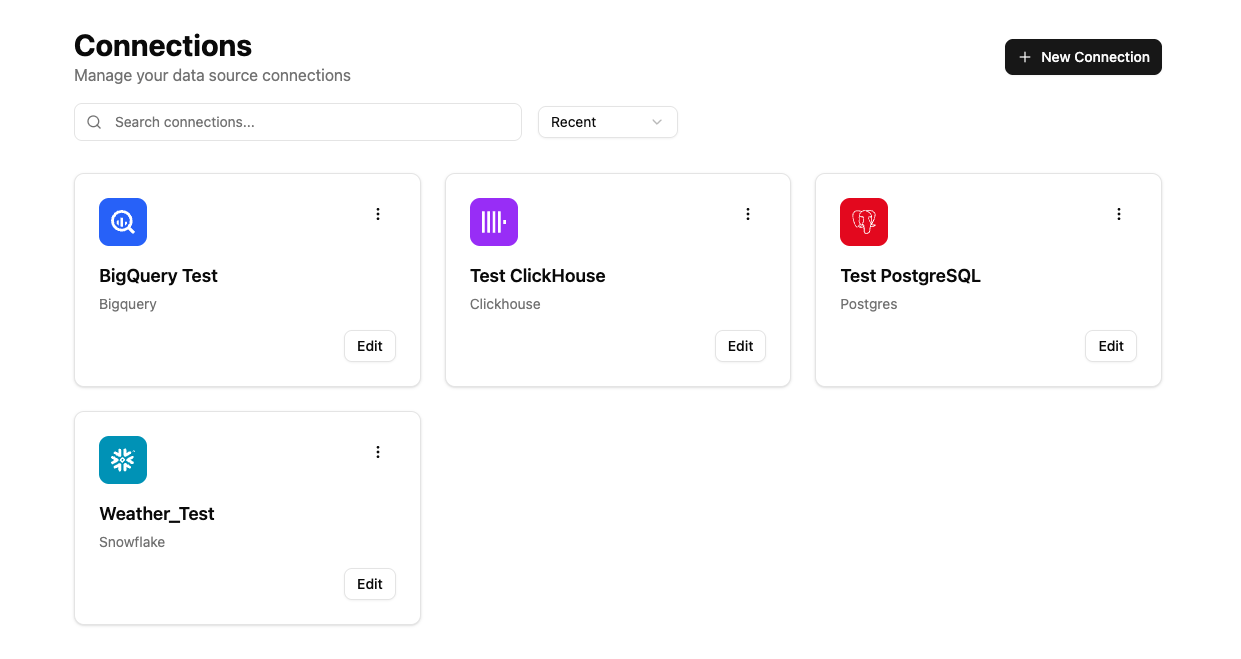
To begin, let's start by connecting to a data warehouse or database by navigating to the Connections tab
Once navigated into the connections tab, create a new connection by clicking the + connection button.
A list of available connections will appear in which you can navigate into.
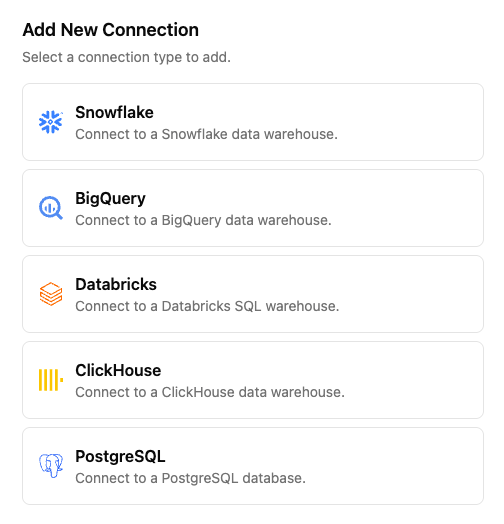
Let's go through each connection type to see how we can connect to them!
Snowflake
Snowflake requires several fields that need to be filled out in order to establish a connection.
- Name: This is the name that will be used to identify the connection
- Account: Your Snowflake account identifier, in which you can find in your Snowflake URL
- User: Your Snowflake username that has been configured for the key-pair authentication
- Role: The Snowflake role to use for connections. Examples include ACCOUNTADMIN, SYSADMIN
- Database, Schema, Warehouse: Specify which database, schema, and compute warehouse you would like to connect to
- Private Key: Upload the private key file (.pem, .key, .p8) for key-pair authentication. This should correspond to the public key that is registered with your Snowflake User
BigQuery
BigQuery requires only four fields to be filled out.
- Name: This is the name that will be used to identify the connection
- Service Account Key: You can Drag and Drop your downloaded service account JSON key from your Google Cloud Console. It contains the necessary credentials for authentication
- Project ID: The Google Cloud Project ID that you want to connect to. Should match the project where your Datasets are located.
- Dataset ID: The Google Cloud Dataset ID. Should match the dataset where your BigQuery Tables are located.
To create a service account key. Navigate to Google Cloud Console -> IAM & Admin -> Service Accounts
Databricks
Databricks will also require several fields to be filled out
- Name: This is the name that will be used to identify the connection
- Host: The Databricks workspace URL. Be sure to not include the http:// or https:// prefix. This can be found in your SQL Warehouse's Connection Details tab.
- HTTP Path: The HTTP Path for your Databricks SQL Warehouse (e.g., /sql/1.0/warehouses/xxx).
- Personal Access Token: Generate a PAT from your Databricks User Settings page with workspace access permissions.
- Catalog and Schema: Specify the catalog and schema.
ClickHouse
ClickHouse will require several fields to be filled out
- Name: This is the name that will be used to identify the connection
- Host: Your ClickHouse server hostname or IP address (e.g., localhost, clickhouse.example.com). Don't include the protocol prefix.
- Port: The port number for your ClickHouse server. Common ports are 9000 for the native protocol or 8443 for HTTPS interface.
- Username: Your ClickHouse username. The default username is typically
defaultunless you've configured custom users. - Password: Your ClickHouse password. If using the default user with no password configured, this field may be left empty.
- Database: The default database name to connect to. Common choices are
defaultor your application-specific database name.
PostgreSQL
- Connection Name: This is the name that will be used to identify the connection
- Host: Your PostgreSQL server hostname or IP address (e.g. postgres.example.com).
- Port: The port number for your PostgreSQL server. The default is 5432.
- User: The database user that will be used for connecting to your PostgreSQL server. This user should have permissions to create and manage tables in the specified schema.
- Password: The password for the database user.
- Database Name: The name of the database to connect to.
- Schema: The schema to use within the database. The default is
public.
Once you have created your data connections, a connection card will appear in your connections tab of any connections that were made.